Outlook Express Configuration Howto
Last update: October 2005
**Note:**We are sorry but images for this howto are only in Italian, but we hope you’ll find your way around anyway. If you want to update this manual, please contact us.
This howto explains how to set up a mail account with A/I so that your messages are encrypted while travelling through the web and it is more difficult to tap them. In the following example we will set up the account of “foo”, corresponding to the address “foo@autistici.org” and to the user name “foo”.
**Note:**This setup has been tested on Microsoft Outlook Express 5, but there should be only slight differences from other versions.
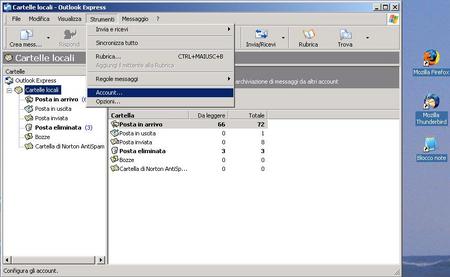
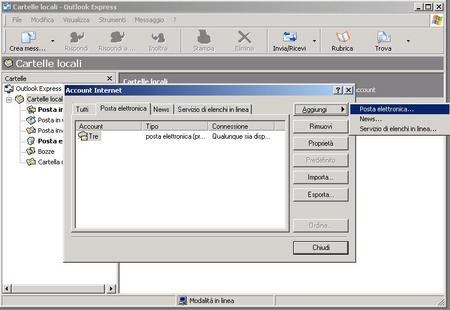
Open Outlook Express. If this is the first time you are opening this program, a window for the new account settings should open authomatically. If it doesn’t, click Accounts on the Tools menu; a window will open: click “Add” and then “Mail”.
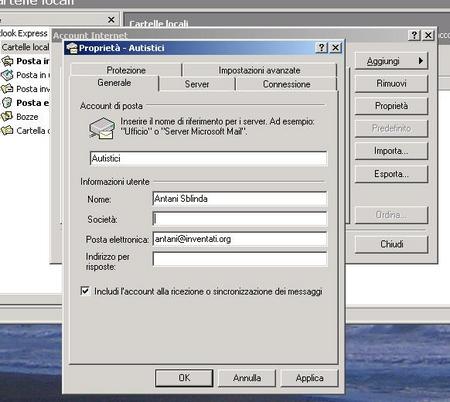
The first thing you will have to set up is your name as you would like it to appear (Full Name) in the messages you will send. Type it and then click “Next”.
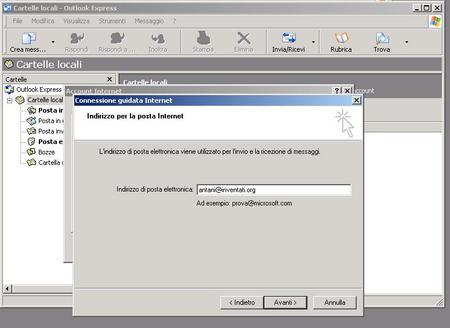
The following window will ask you if you want to use your address or to create a new one with Hotmail. Choose the first option and insert your A/I e-mail address. Click “Next”.
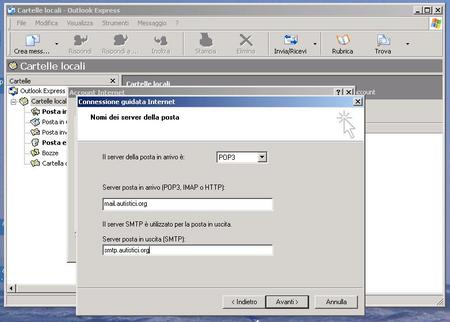
The following step will consist in setting up the mail servers. If it is not selected yet, chose “POP3” as a server type and type the name of your mail server (Incoming mail server: “mail.autistici.org”; Outgoing mail server: “smtp.autistici.org), then click “Next”.
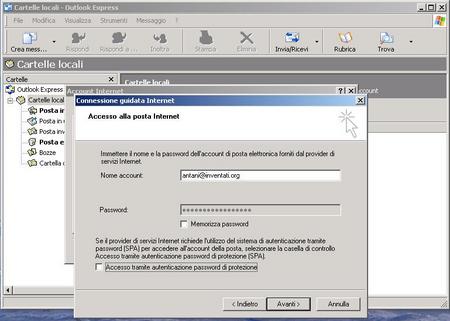
Now you will have to set up your account name, i.e. your email address and, if you wish, your password. Remember that if you chose to select “Remember password”, your password will be recorded in your hard disk, so that anyone using that computer will be able to download your mail. Click “Next”.
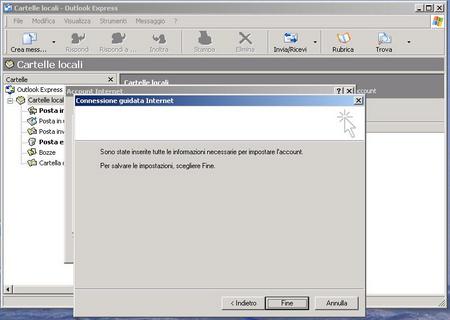
We are nearly finished. Click “Finish”.
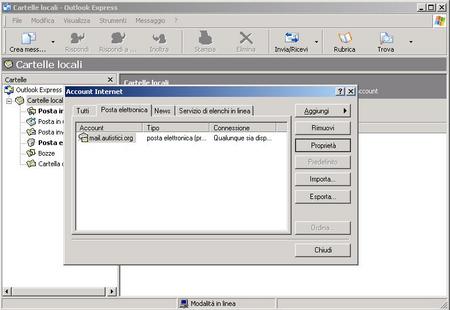
Now you should be back to the account setup window. If you don’t see it, choose “Account” in the “Tools” menu. Select the “Mail” tab and double-click on the account you’ve just set up.
Select the “Servers” tab and the window will change.
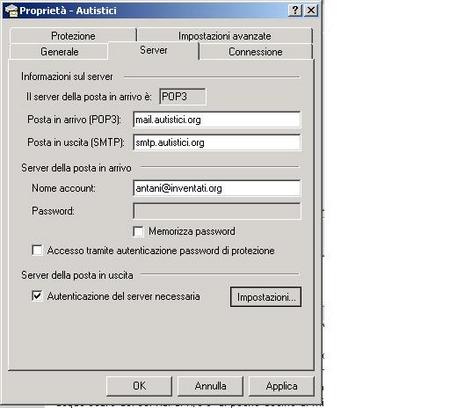
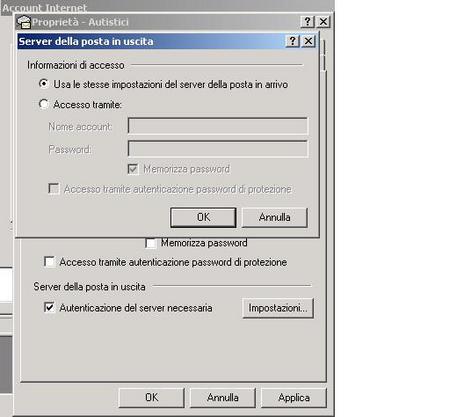
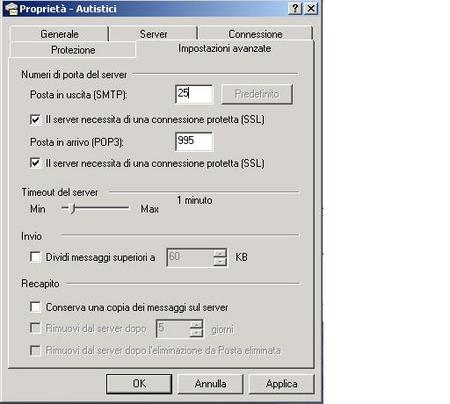
Check the box beside “My server requires authentication”, then click the “Advanced” tab. Check the box “This server requires a secure connection (SSL)” for both the Incoming (POP) and Outgoing (SMTP) mail servers. Then replace the port number 25 with 465 next to “Outgoing mail (SMTP)”.
Now you can click OK both in this window and in the settings window: from now on you will be able to download your messages and to send them in a rather secure way. Just remember to type in your password when the program asks you to do so!
If you want to read more about e-mail and if you wonder why we advice this kind of setup, read the general page on mailboxes and A/I mail service.
JavaScript license information